How to Test Well Water Quality Safely in 2026?
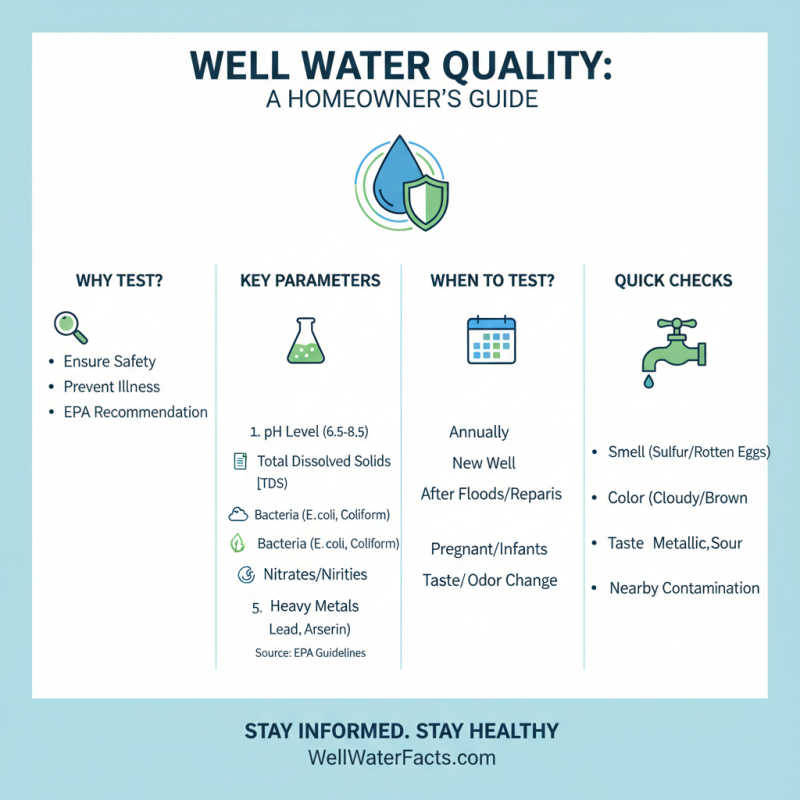
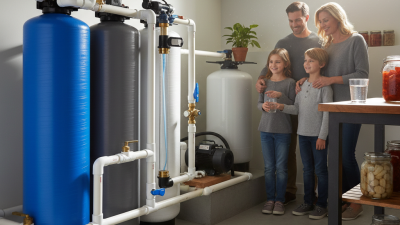
Testing well water quality is essential for safe drinking water. In 2026, awareness about water contamination has increased. Many households rely on wells as their primary water source. However, ensuring that this water is safe requires regular well water testing.
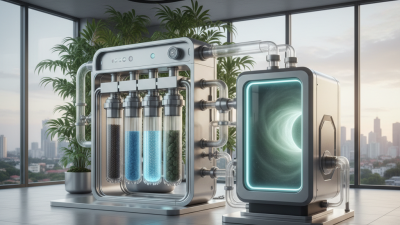
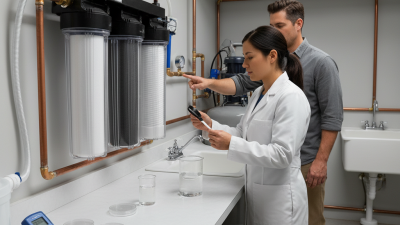
There are various methods to conduct well water testing. Some choose DIY kits, while others prefer professional services. Each approach has pros and cons. DIY kits offer convenience but may lack accuracy. On the other hand, professionals provide thorough analysis but at a cost. Testing for bacteria, nitrates, and heavy metals is crucial. Ignoring these factors can lead to health risks.
In recent years, cases of contaminated well water have emerged. Reports show that many homeowners overlook regular testing. This negligence can endanger families, especially children. It’s vital to remain proactive. Regular well water testing can help identify problems before they escalate. Being informed can make all the difference in ensuring your water is safe for consumption.
How to Choose the Right Testing Kit for Well Water Quality
Choosing the right testing kit for well water quality is essential in 2026. With increased concerns about contaminants, selecting a reliable kit can ensure safety. Reports from the U.S. Geological Survey indicate that approximately 10% of private wells have unsafe levels of nitrates and coliform bacteria. Therefore, it’s critical to test your water at least once a year.
Look for kits that detect a broad range of contaminants. Some kits can check for bacteria, heavy metals, and chemical pollutants. Check the kit's certification. Kits certified by organizations such as the Environmental Protection Agency (EPA) may offer better reliability.
Tip: Pay attention to the expiration date of the testing kit. Old kits may provide inaccurate results.
Not all kits are created equal. Some may test for only a few contaminants. If you live near agricultural land or industrial sites, consider more comprehensive tests. It's also worth noting that DIY kits may lack professional oversight. This could lead to overlooking critical health issues.
Tip: Always follow the instructions carefully. Improper sampling can lead to false results. Testing your well water should not feel overwhelming. Just ensure you have the right tools and knowledge. Avoid complacency; keep your water safe.
Essential Parameters to Test for in Well Water Safety
Testing well water quality is crucial for ensuring safety. Various parameters require attention, such as pH levels, total dissolved solids (TDS), bacteria, nitrates, and heavy metals. According to the Environmental Protection Agency (EPA), safe drinking water should have a pH between 6.5 and 8.5. If your pH falls outside this range, it can cause health problems or equipment damage.
Nitrates are another vital parameter. The EPA recommends keeping nitrate levels below 10 mg/L. High nitrates can come from agricultural runoff and can be particularly harmful to infants. Heavy metals like lead and arsenic are also alarming. For instance, the EPA sets a limit of 0.010 mg/L for arsenic due to its toxicity.
Tips: Regular testing of your well water can identify risks. Consider a test kit or professional service. Don’t forget to check for bacteria, as even small amounts can indicate contamination. Always prioritize your health and safety. If results show concerning levels, seek guidance immediately. Remember, your well water quality affects not just you but also your loved ones. Testing is a step you can’t afford to overlook.
Step-by-Step Guide to Collecting Water Samples Properly
Testing well water quality is crucial for health. Collecting water samples correctly is essential, but it can be challenging. Here’s a step-by-step guide to help you navigate the process.
Start by gathering your materials. You need clean sample bottles, a permanent marker, and gloves. Make sure the bottles are free from contaminants. If they are not sterile, the results may be skewed. Put on the gloves before handling the bottles. This step may seem small, but it’s vital for accuracy.
Next, turn on the tap for a few minutes. This helps flush out any stagnant water in the pipes. Collect the water sample directly from the faucet, avoiding any contact with the bottle's inside. Label each sample with the date and time. This information is often overlooked, yet it ensures proper tracking. Place the samples in a cool, dark area until you can send them for testing. Many forget this part, leading to compromised results. Remember, the accuracy of your well water test depends on how you collect the samples.
Interpreting Your Well Water Test Results Effectively
Testing well water quality is essential for your health. When you receive your test results, understanding them can be daunting. Take a closer look at the numbers. They may reveal levels of contaminants like bacteria, nitrates, or metals. These can be harmful if not addressed.
Start by checking the safe limits for each contaminant. Some results may show high levels, which means action is necessary. For instance, if bacteria are present, a thorough disinfection process is required. Immediately addressing this can prevent potential health risks. Also, be aware that not all results are straightforward. You might see results in parts per million, which can be hard to interpret.
It is essential to ask questions. Seeking help from experts can clarify concerns. Sometimes, you may feel overwhelmed by all the data. This is common. Understanding your water quality is important, yet the process can bring up uncertainties. Don't hesitate to reach out for advice. Proper interpretation is crucial for ensuring safe drinking water.
Taking Action Based on Well Water Quality Findings
Testing well water quality is crucial for ensuring the safety of your drinking water. After performing tests, understanding your findings is essential. A few contaminants like bacteria, nitrates, and lead can seriously affect health. If results show elevated levels, don’t ignore them. Take action promptly to mitigate risks.
When faced with concerning results, consider using filters or purifiers designed for specific contaminants. In some cases, well water may need to be treated or even replaced. Consulting a water treatment specialist can provide clarity. They can suggest solutions tailored to your situation. Meanwhile, keep records of your water tests. Monitoring changes over time is beneficial.
Regular testing isn’t just about safety; it’s a reflection of responsibility. Some homeowners may dismiss the need for ongoing testing. This can lead to serious health issues later. It’s worth the effort to stay informed and proactive. Taking action based on water quality findings can protect your family's well-being. Your health is worth every step you take.
How to Test Well Water Quality Safely in 2026? - Taking Action Based on Well Water Quality Findings
| Test Parameter | Recommended Limit | Sample Result | Action Required |
|---|---|---|---|
| pH Level | 6.5 - 8.5 | 7.2 | No Action Required |
| Nitrate (NO3) | < 10 mg/L | 8.0 mg/L | No Action Required |
| Lead | < 0.015 mg/L | 0.030 mg/L | Treatment Required |
| Coliform Bacteria | Absent | Present | Immediate Action Required |
| Arsenic | < 0.010 mg/L | 0.005 mg/L | No Action Required |
Related Posts
-
Why Is a Drinking Water Filtration System Essential for Your Health?
-
Understanding the Importance of a Well Water Filter System for Your Family's Health
-
2025 Guide: How to Choose the Best Water Cleaning System for Your Home
-
2025 How to Build an Effective Filter System for Your Needs
-
Best Well Water Filter Systems for Clean and Safe Drinking Water
-
Top 7 Tips for Choosing the Best Water Filter System for Well Water
